The Balancing Act: Getting Silk-Screening and Tempering Right
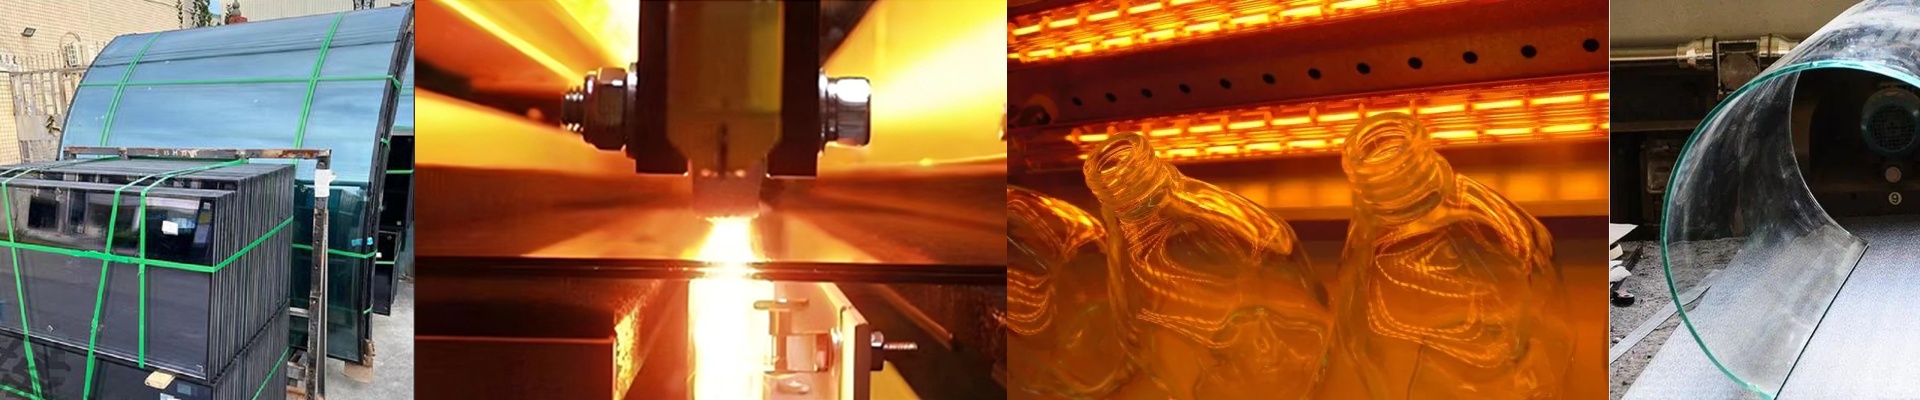
Here’s the struggle with integrated tempering: you’re walking a very thin line. If your oven runs too hot, your ink burns or starts bleeding across the glass. But if you dial it back too far? The glass doesn’t get enough stress to meet safety standards. It’s a headache. To fix this, we use quartz infrared lamps. They basically act as the bridge, giving us a way to control exactly how much heat is hitting the surface.
How we handle the heat
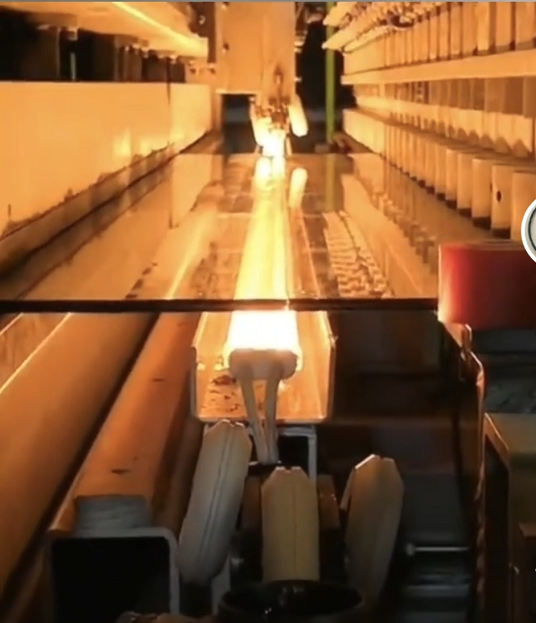
We use lamps that pump out short-wave or medium-wave radiation. Short-wave is the secret sauce here. It punches through the glass quickly, which speeds up the whole heating cycle. Why does speed matter? Because you want that ink to set before it has a chance to move. By tweaking the wattage and moving the lamps closer or further from the belt, you can hit that sweet spot—tempering the glass without torching your patterns.
Why quartz?
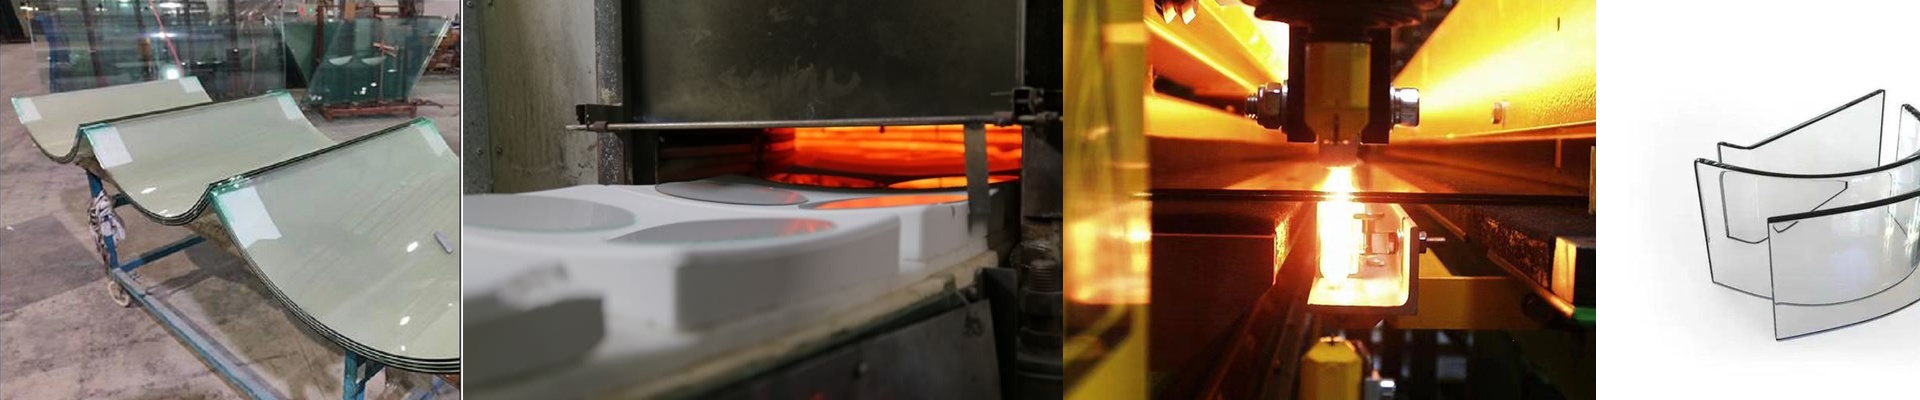
We stick with high-purity quartz tubes. Standard glass just can’t handle the shock of heating up and cooling down that fast. We also make sure the filaments are perfectly centered. This gives you a uniform heat footprint across the whole sheet. If you get “cold spots,” the glass will likely shatter during the quench. Not a great way to end a shift. One thing to keep in mind: these high-wattage lamps getintense. If your oven’s airflow isn’t set up to cool the ends of the lamps, you’ll burn through your connectors way faster than you should.
Making it work in the real world
When you plug these into a line, the goal is a “drop-in” profile. You tune the intensity so the ink cures at the exact same time the glass core reaches its softening point. It’s a huge win. You don’t need a separate curing stage and a tempering stage. That means less floor space and lower power bills. Just make sure your PID controllers are calibrated to how fast these lamps ramp up, and you’re good to go.