Getting the Heat Right for Glass R&D
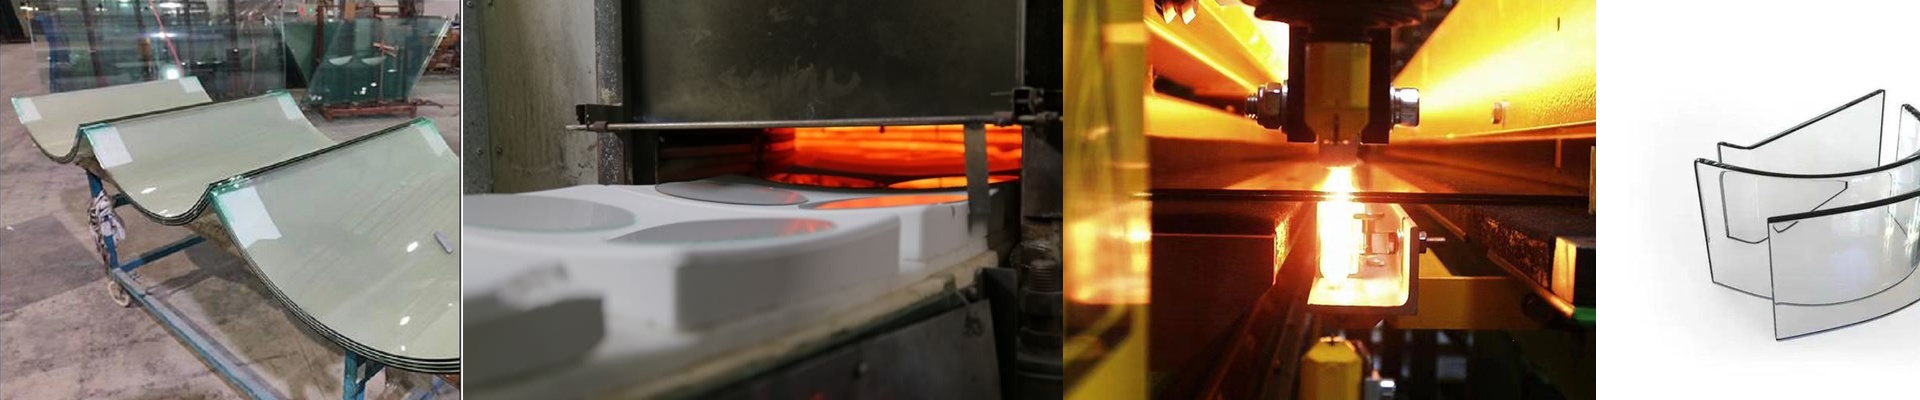
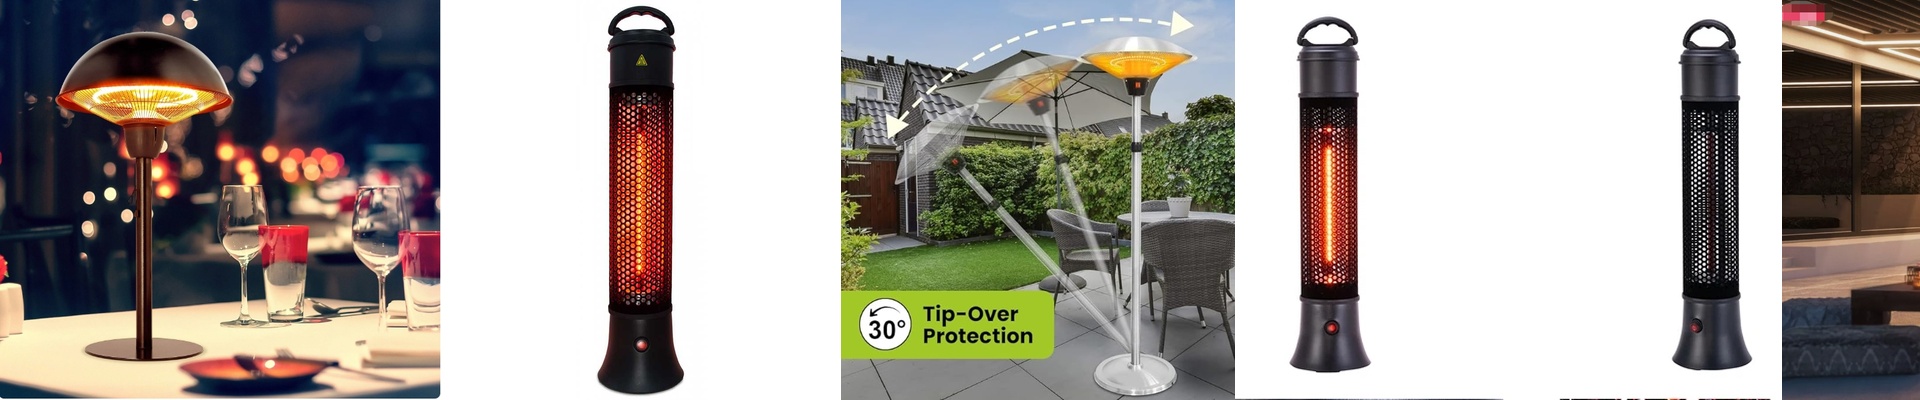
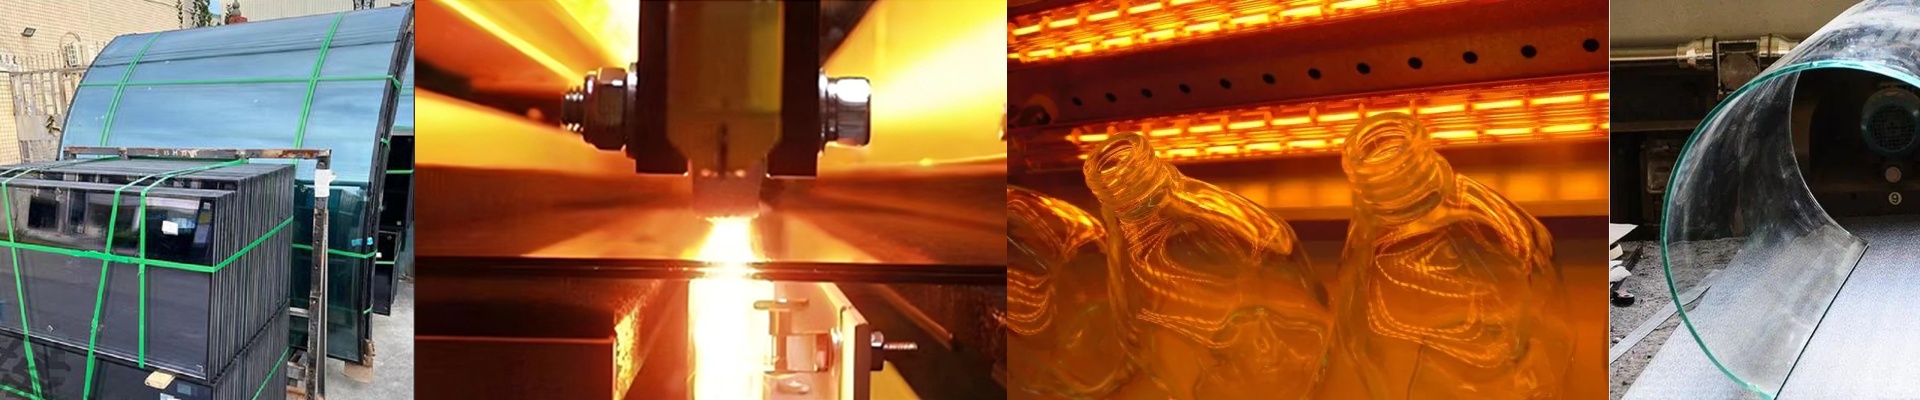
Here is the problem with those standard, off-the-shelf heating lamps: they’re too “perfect.” They give you uniform heat across the board. But if you’re actually in the lab developing new glass materials, uniform heat is rarely what you’re after. You need gradients. You need to control internal stress and phase transitions, and you can’t do that if the heat is just a flat blanket. Designing the Power Profile We don’t just tweak the length or the wattage of our annealing lamps and call it a day. We actually mess with how the power is distributed across the quartz envelope. By playing with the tungsten load and the filament winding pitch, we can build “hot zones” and “cool zones” right into a single tube. It’s a huge shortcut. You can get a lamp that mimics a specific furnace profile without having to wrestle with a massive, expensive multi-zone controller. The Trade-offs (The “Gotchas”) Now, there’s a catch. When you cram more wattage into a smaller space, the heat flux spikes. If you go for a high-density lamp to hit your annealing temp faster, watch your reflectors. Cheap reflectors will warp or oxidize the moment things get intense. You’ve got to make sure your housing can actually handle the radiated heat, otherwise, you’re just going to burn out the ends of your lamps way too soon. Putting it to Work The best part? These lamps just slide right into your setup, replacing those generic infrared sources. Since we give you a lot of freedom with the parameters, you can match the lamp’s spectral output to whatever glass compound you’re working with. It means you stop wasting energy heating the air in the room and start putting that energy directly into the glass. Just wire it up to a precision SCR controller to keep your tolerances tight. Once you’ve mapped the power distribution to the shape of your sample, you’ll notice a lot less thermal shock. No more waking up to find your hard work cracked during the cooling cycle.